Design Tips:
Which file format to use, and when

What file type do I use?
Are you struggling to understand what file type to use where? During the creation of just one print or web project, you could find yourself juggling multiple file types at once.
Maybe you have JPG photographs and an EPS logo and the entire project is being built in InDesign as a print file.
Or you’re building a website and have been provided a logo as a PNG and images as JPEGS. This is a good thing, as every file type has its own strengths, and a savvy designer utilizes these strengths on a case-by-case basis, choosing the best file type for the job.
You’re likely to have multiple file types of a single design element; a company logo might have an EPS master copy, a PNG web version, and an animated GIF for special occasions.
You can save and convert practically any image file type you’ll ever need from within Photoshop or Illustrator. However, when you’re converting one file type to another, there are a few things to keep in mind.
This resource will (hopefully) explain the best file type to use in each situation.
The general rule is that all files used in a print document must be saved in high resolution CMYK format before you export your print PDF.
There are some online digital printers that don’t require your files be CMYK, but most of the time, especially in an offset printing environment, all files in your artwork need to be CMYK.
Below are some different scenarios where you will be using files from across the Adobe Creative Suite to create a piece of print artwork, and what file types to import.
Importing images into an Adobe InDesign print file:
- Importing vector graphics created in Illustrator >> use .ai or .eps file format (CMYK)
- Using File >> Place to place your file
- Importing bitmap graphics created in Photoshop >> use 300dpi flattened .psd file format (CMYK)
- Using File >> Place to place your file
- Note: We flatten the Photoshop file to reduce file size but don’t forget to save a layered version of your artwork to keep editing capabilities
Importing images into an Adobe Illustrator print file:
- Importing vector graphics created in Illustrator >> use .ai or .eps file format (CMYK)
- Open the .ai or .eps artwork you want to import in Illustrator, and copy / paste the vector art into your new Illustrator artwork. This way, you can still edit the vector artwork.
- If you use file >> place to import .ai or .eps files into Illustrator, you won’t have editing abilities for that piece of art as it will import as a flat file.
- Importing bitmap graphics created in Photoshop >> use 300dpi flattened .psd file format (CMYK)
- Using File >> Place
- Note: We flatten the Photoshop file to reduce file size but don’t forget to save a layered version of your artwork to keep editing capabilities
Importing images into Adobe Photoshop:
Note, you should not be creating print PDFs directly from Photoshop. You should be using Photoshop to create bitmap images / elements that you then pull together into a final piece of art using Illustrator or InDesign.
-
- Importing vector graphics created in Illustrator >> use .ai or .eps file format
- Using File >> Place Embedded
- Or copy / paste the vector art directly from Illustrator into Photoshop and place as a smart object.
- Both these methods give you the ability to double-click the layer in Photoshop and edit the artwork in Illustrator, save it, and it will update in Photoshop
- Importing bitmap graphics created in Photoshop >> use psd, jpeg, gif, png or any other bitmap format (RGB)
- Using file >> Place Embedded
- Note: While creating artwork in Photoshop, you should be working in RGB mode to have access to all the editing capabilities of the program.
- Once you have finalised your artwork, you should then flatten the file, change the colour mode to CMYK, and save as a .psd file. BUT! Don’t forget to save a layered version of your artwork to keep editing capabilities.
- Importing vector graphics created in Illustrator >> use .ai or .eps file format
Web
All files used in an online or web setting must be saved in low resolution RGB format at the smallest file size possible without sacrificing to much quality.
- To save a web file with a transparent background, use png or gif
- Png will be larger file size but better quality
- Gifs can start to look pixelated and are generally only used for animations
- If you don’t need a transparent background, use Jpeg
- This will give you the best quality at the smallest file size
Below are some different scenarios where you will be using files from across the Adobe Creative Suite to create a piece of web artwork, and what file types to use.
Creating web graphics in Adobe Illustrator:
- Create your graphics in Illustrator in vector
- Ensure they are the correct pixel dimensions for your web project
- Select the vector graphic you want to export
- File >> Export selected
- Choose your file type & location to save >> export
If you prefer to use the save for web feature in Adobe Photoshop to adjust your image settings:
- Copy / paste your Illustrator vector graphics into a 72dpi Photoshop file setup to the correct dimensions
- In Photoshop choose File >> Export >> Save for Web (Shortcut CMD + OPT + SHIFT + S)
- Under the preset, select your file type: Gif, Jpeg, Png
- Adjust your settings to achieve the best quality at the smallest file size
- Save
Creating web graphics in Adobe Photoshop:
- Setup your Photoshop file at the correct pixel dimension @ 72dpi
- File >> Export >> Save for Web (Shortcut CMD + OPT + SHIFT + S)
- Under the preset, select your file type: Gif, Jpeg, Png
- Adjust your settings to achieve the best quality at the smallest file size
- Save
Saving vector elements for later use
If you’ve created, for example, a logo concept in Illustrator with various versions of a logo in it, how do you then supply those separate elements to the client?
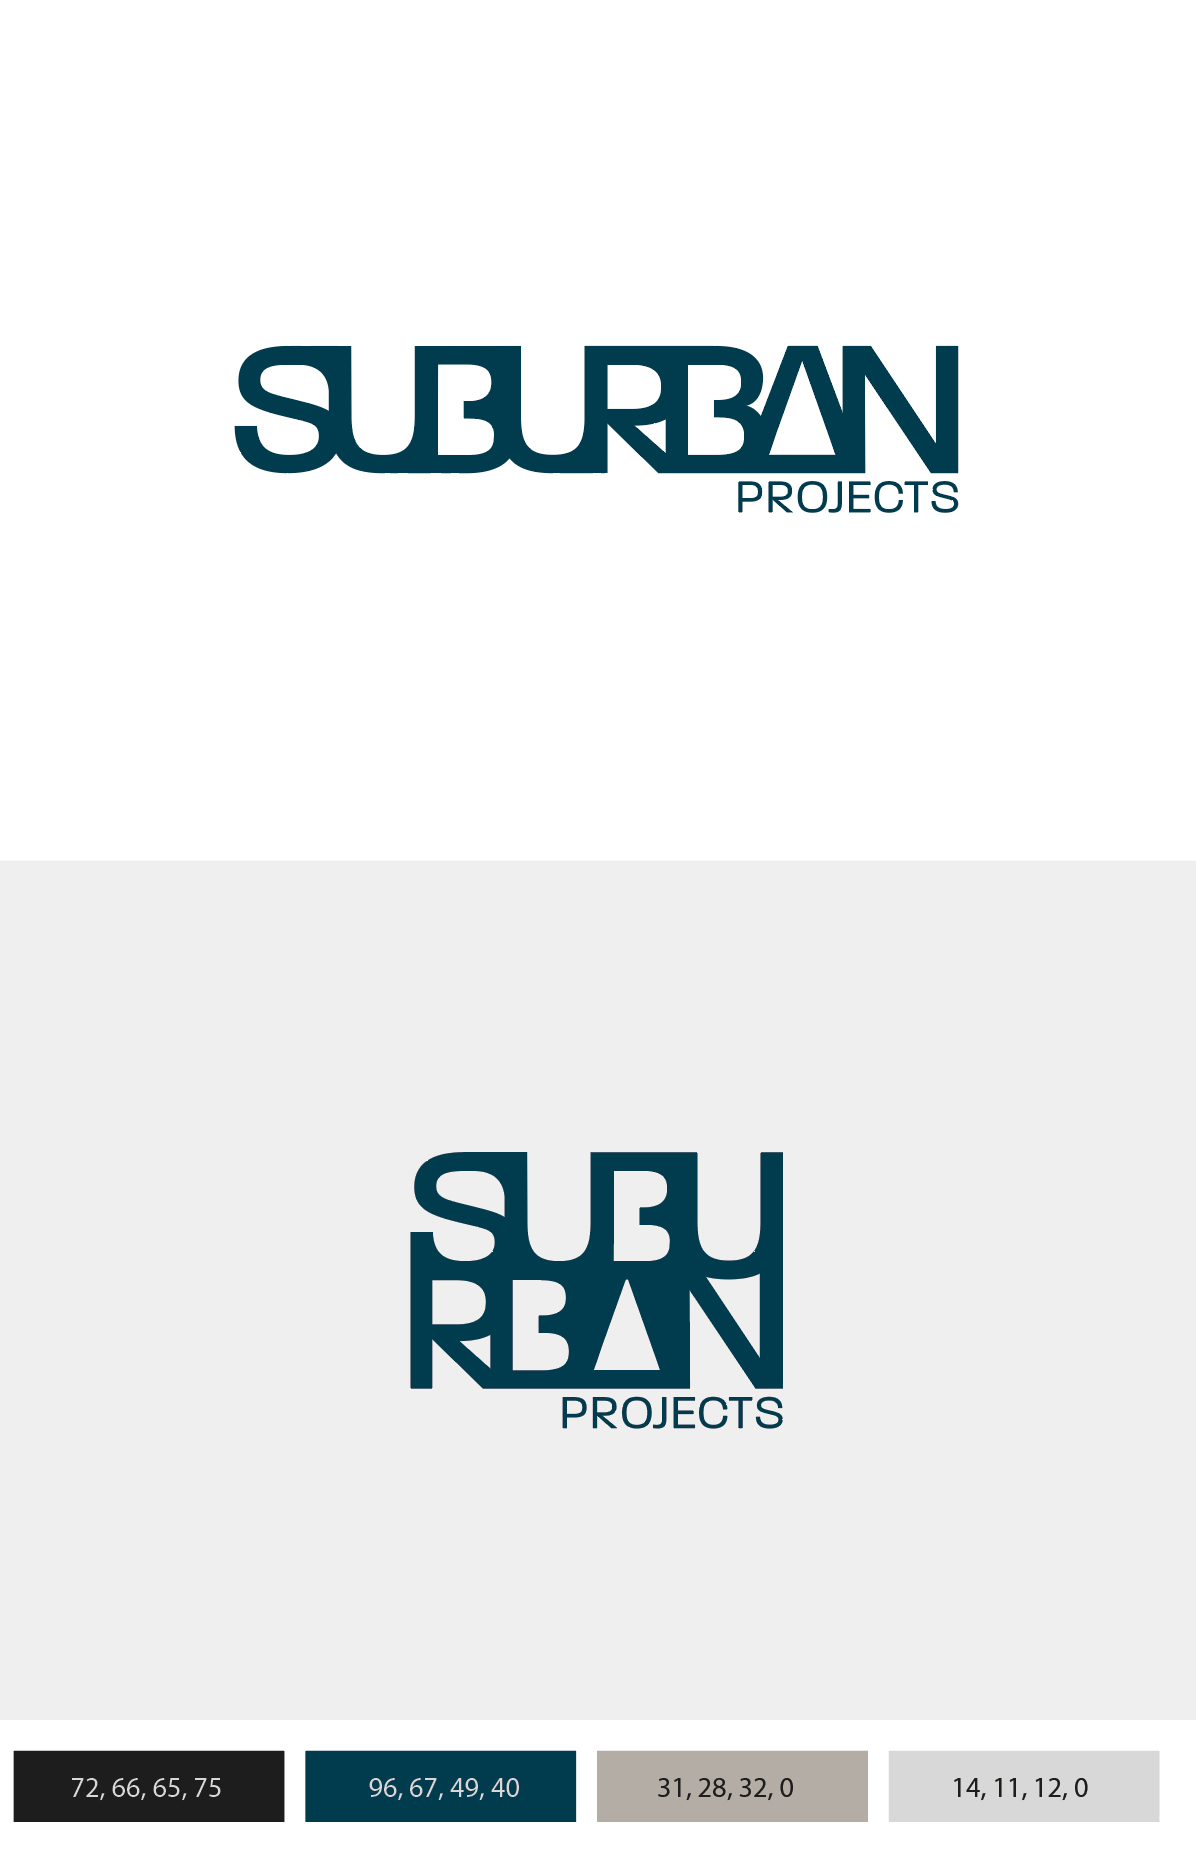
In the case of a logo, you create a ‘logo set’.
This is where you copy each version of the logo (colour, mono, stacked, horizontal etc) from your original Illustrator file and paste them into a new Illustrator file of their own. Then save them as either an .ai or .eps.
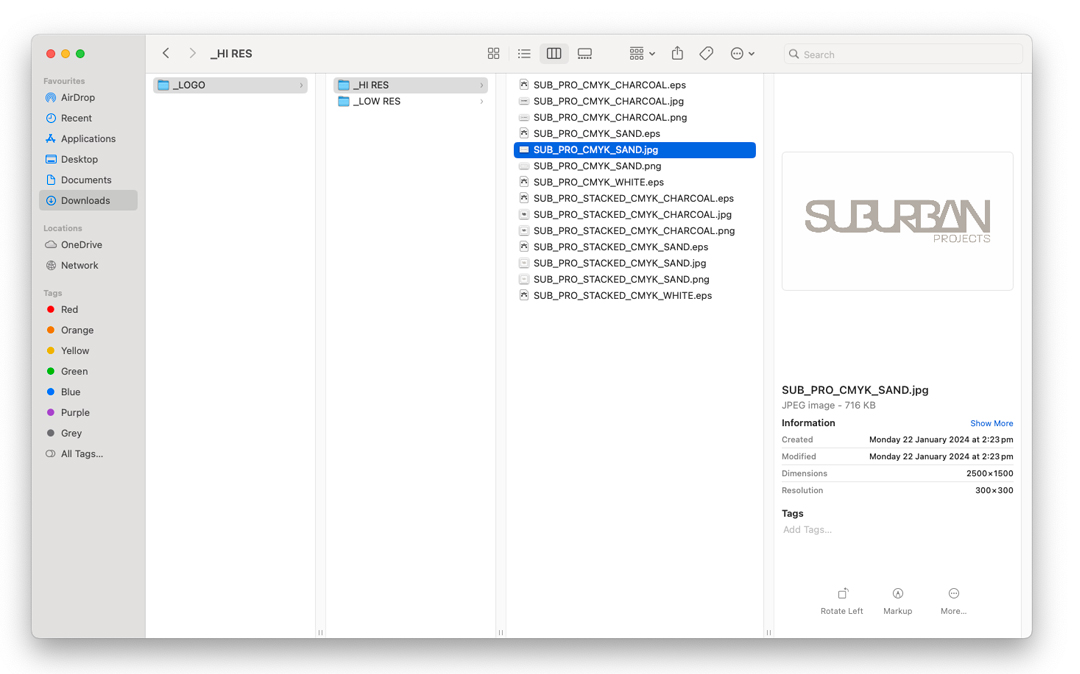
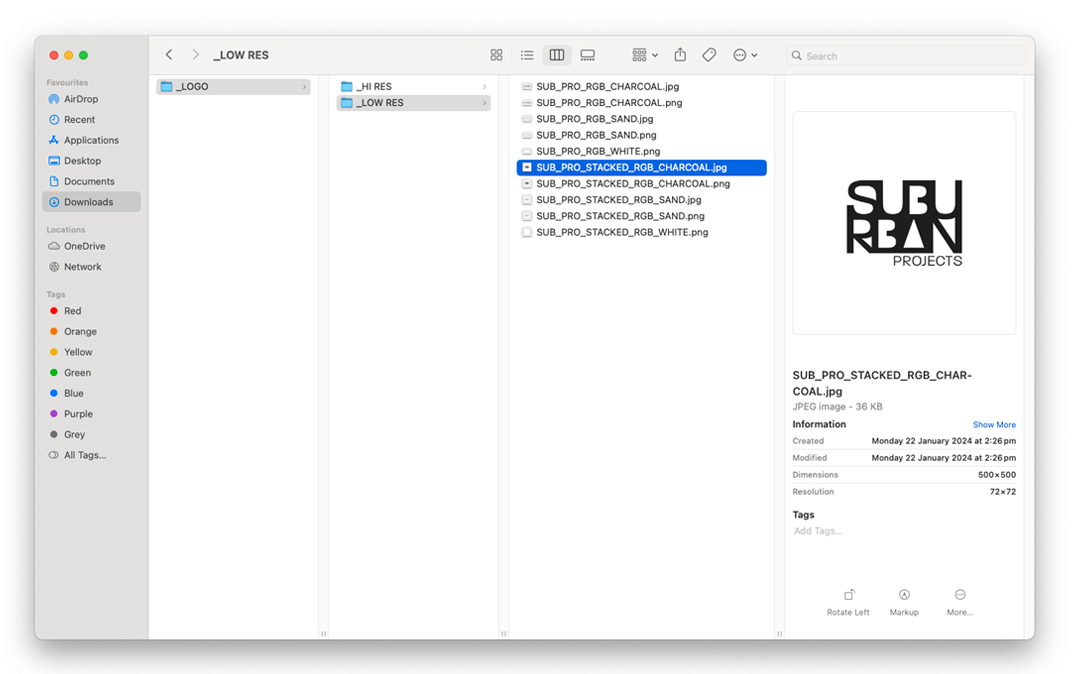
You then copy / paste each individual logo file from Illustrator into Photoshop to create high resolution CMYK & low resolution RGB jpegs and png files for the client to use across all their different media.
Use this same process to save individual vector elements from any Illustrator document.

Final logo set: Hi resolution CMYK files for print use – horizontal & stacked versions in the client’s brand colours – add CMYK to the file names.

Final logo set: Low resolution RGB files for print use – horizontal & stacked versions in the client’s brand colours – add RGB to the file names.

